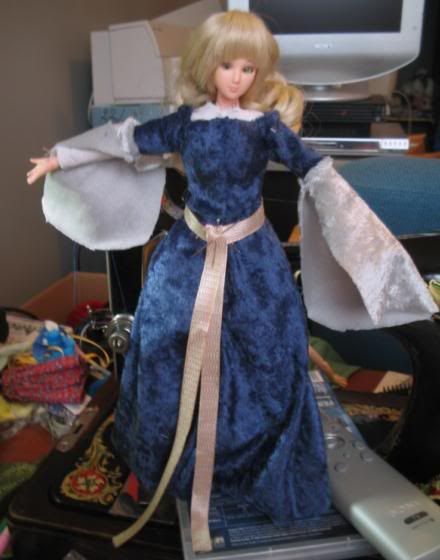
Medieaval dress
But first things first.
1-This dress is a 2 part dress (undregarment and dress) and all the patterns are dobbeld (cut 2 of the sleeves, arm,
dress, etc)
2.I got all (i think) of the patterns from a 'human' book on medival dresses, so I have custemised most of the patterns
to fit the 27 cm obitsu.
3. this dress is simple to me, but It can be a nights work if ya haven't made one before.
4. All the patterns are in A4, with cm written on the bottem (il get back to them) 5. Allways sew on the 'wrong' side(
the side to show is the right side)
Like this
6. this entire dress is a 'pull over' dress, meaning; no buttens, threads, etc
7. Colors. Undergamrent: White was mostleyu used, but they could use allmost all sort of colors and patterns (white with
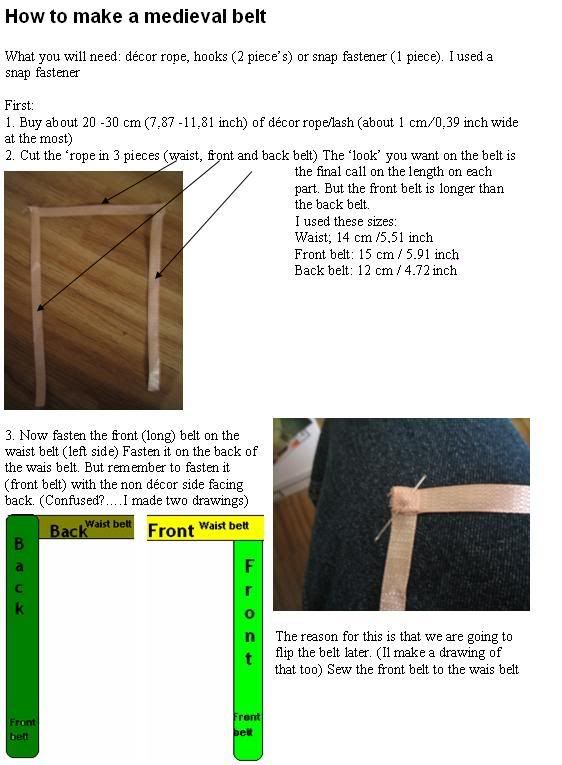
gold was verry popular) Overdress: Earthy tones (blue, yellow, brown, green, red, etc) 8. I think Il post a medival belt tutoral
(maybe....just maybe: a medival male/boy suite + a perhaps a Surcoat) ]###################################################
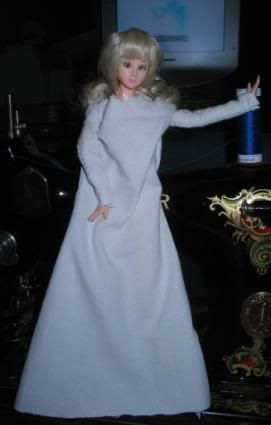
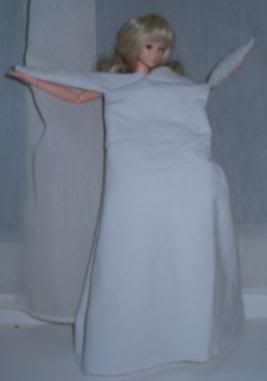
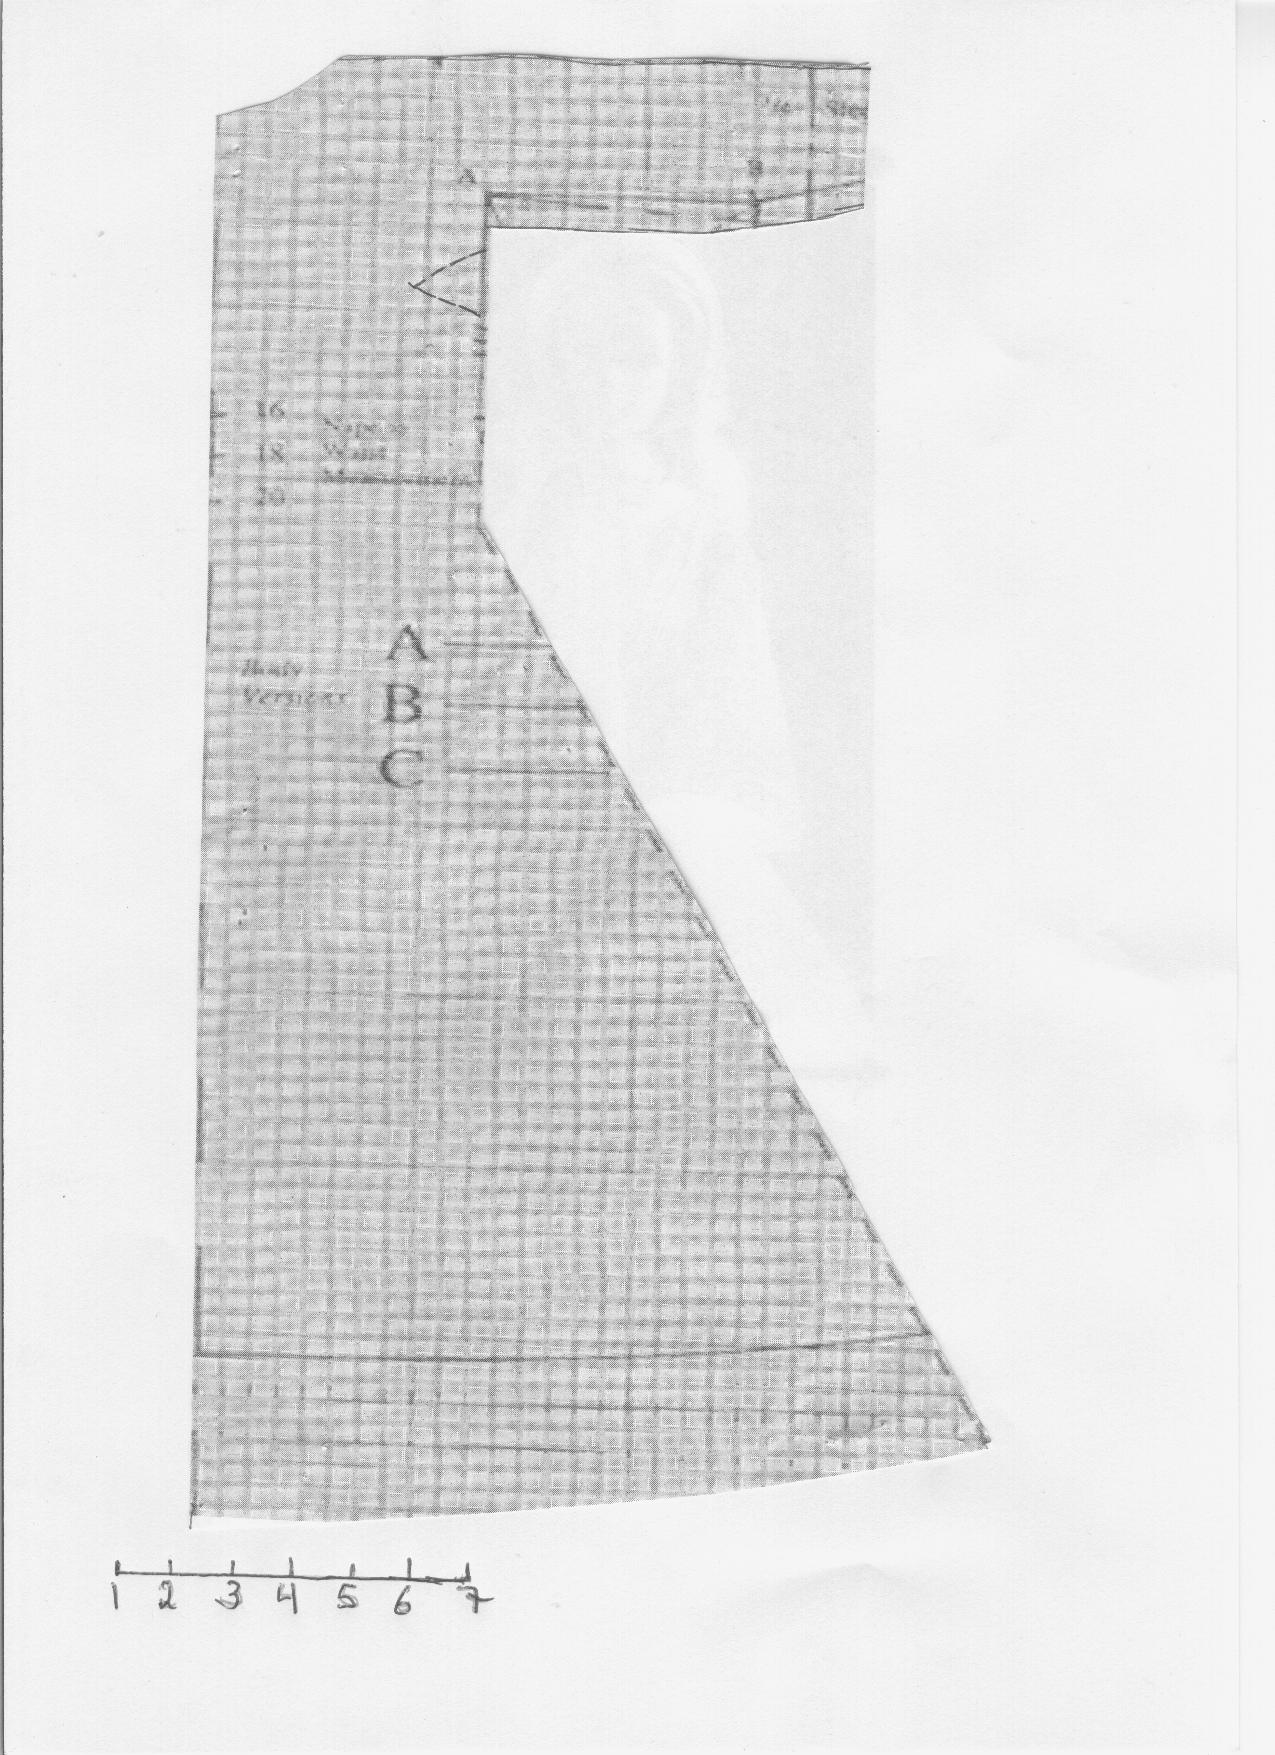
Let's start with the undergament
Remember....It's big and not the most sexy thing in a obitsu wardrobe. But ya can use the same pattern for a male or
female undergarment
1. Fold the fabrick ya want to use in dobble and pin the pattern down (hold it on place so ya can cut.
2. To this twice. Ya should end up with two of these
3. Pin the two together, and sew them stuck
4. You can sew the bottom and end of arm's if ya like (for more decorative and 'loose' fabrics)

5. Finished (remember to turn it right side out)
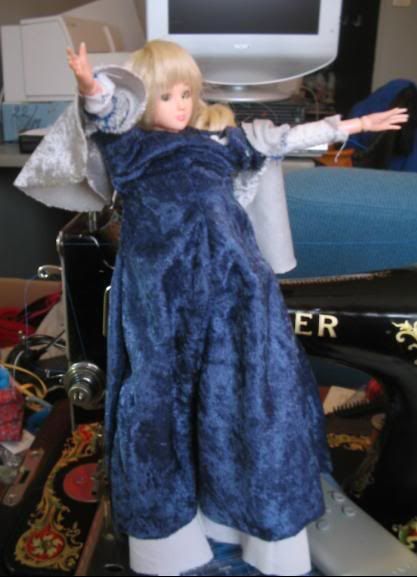
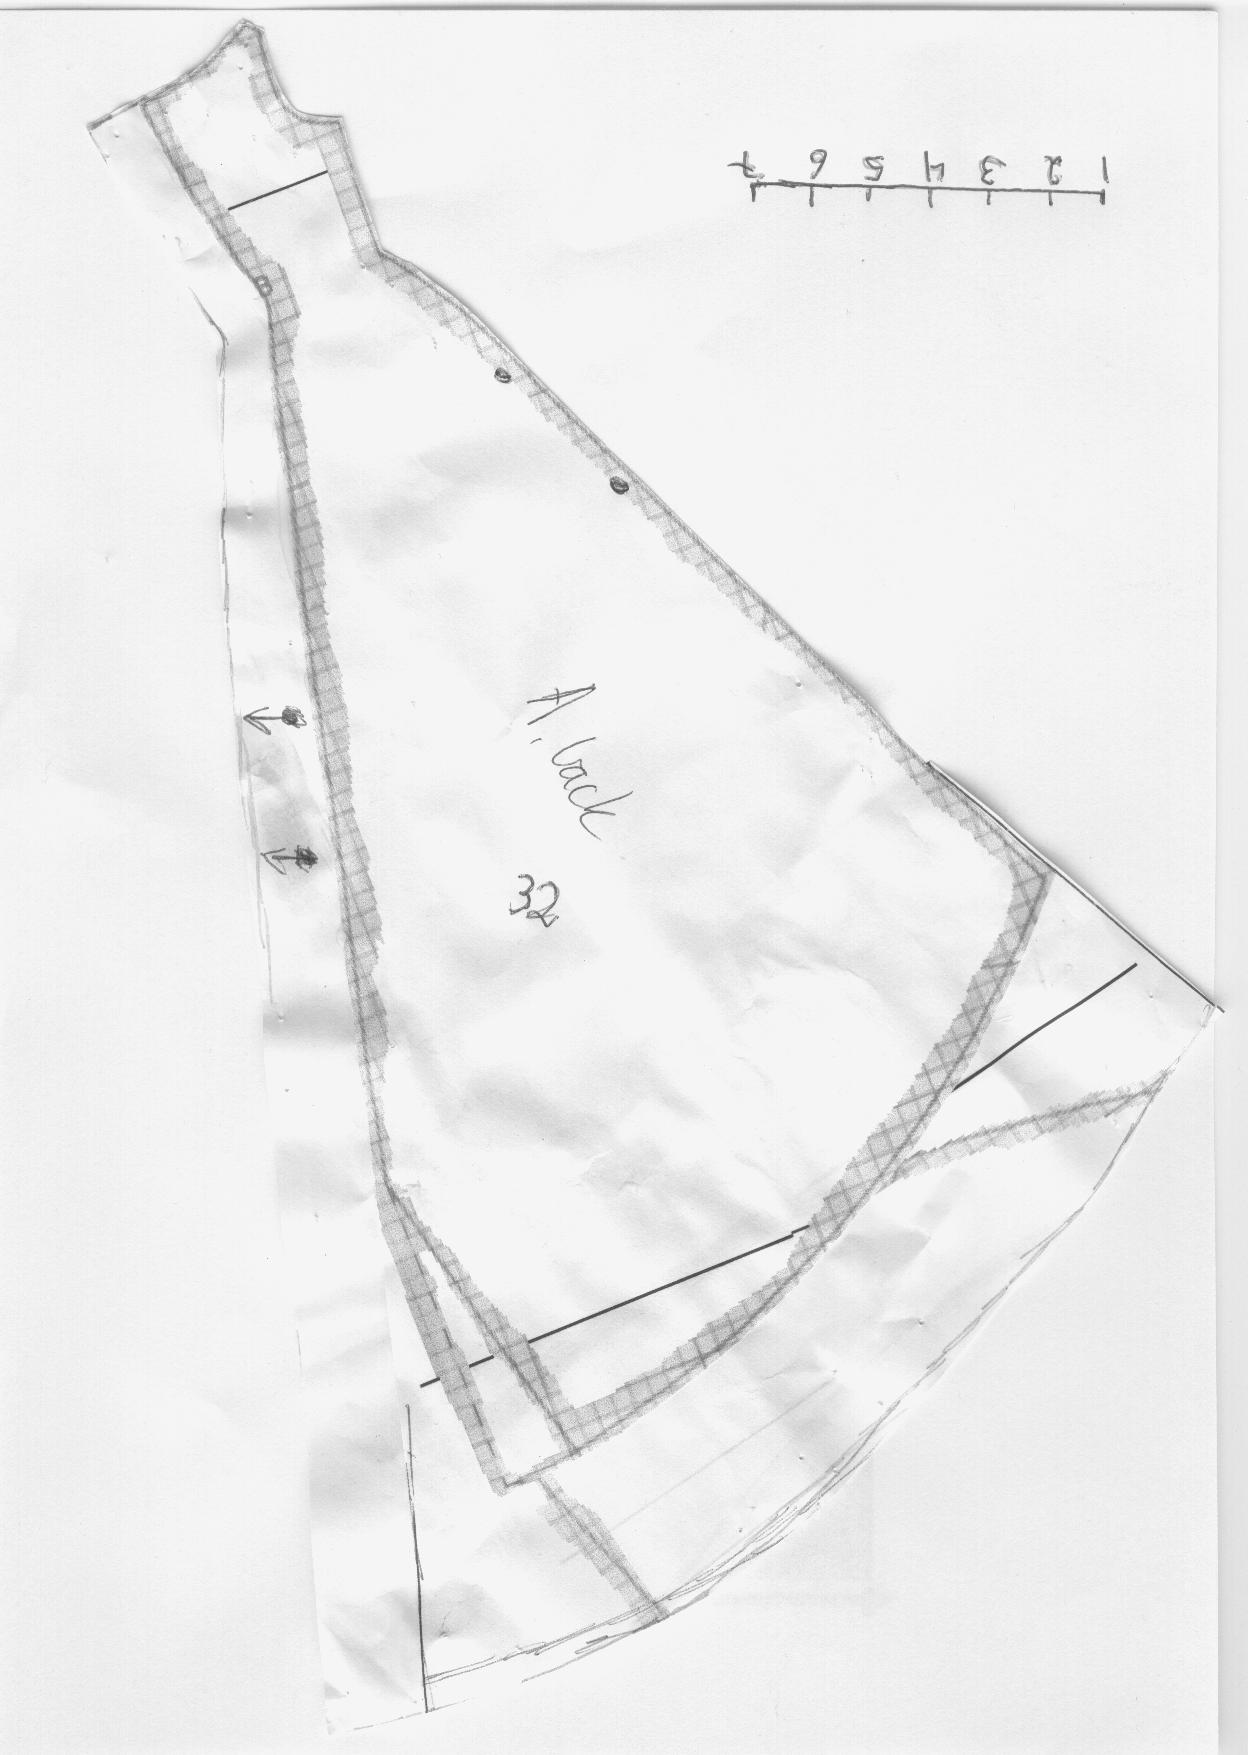
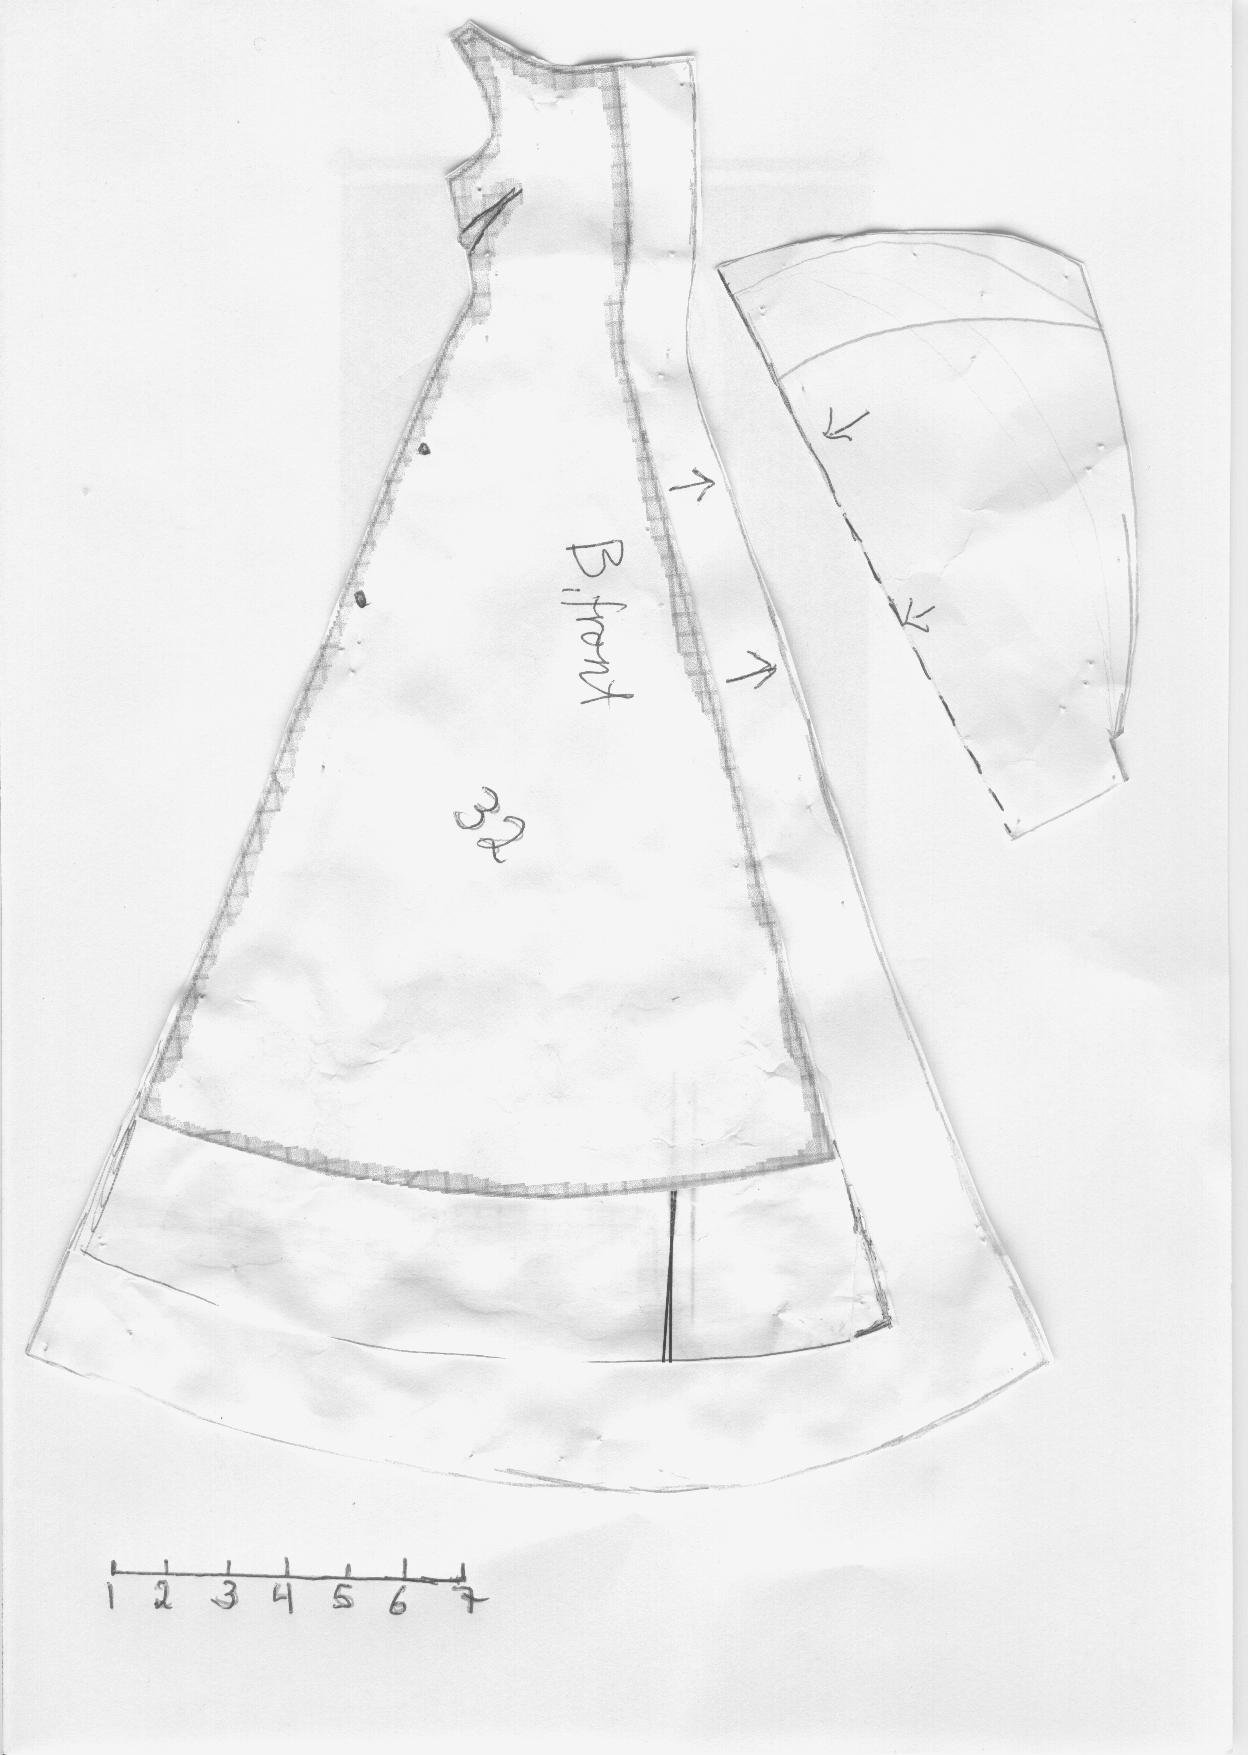
And the overdress
1. Fold the fabrick ya want to use and pin the pattern down (hold it on place so ya can cut) Do this twice (to arms,
front/back dress)
2. Do this on all the pattern's for the overdress
3. Now the fun starts. Take the front dress (B). Pin together the side with --> with eatch other. leaving the sides
with the ** un pinned (shoulderstraps are on oposite side of eatch other). To the same to the back dress (A). Sew them
4. Take the front (B) and the back (A) and pin them together. ** (A) should be againes ** (B). Remember to put the front
side of the fabrick againsed eatch other and sew them together. Fasten the strops with eathoter (A-B) not (B-B/A-A)
5. Fold the arms and sew them.
6. Attach and sew the arms on the dress
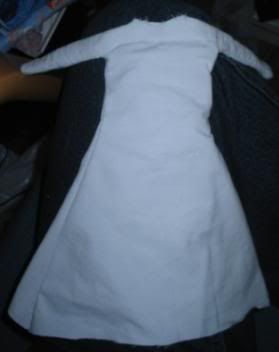
7. You should end up with somethiong like this (remember to turn it right side out)
8. I didn't like the arms (to long for my part so I cut them to this

9. You can sew the bottom and end of arm's if ya like (for more decorative and 'loose' fabrics)
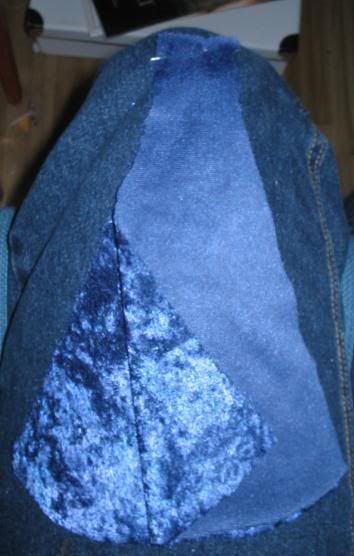
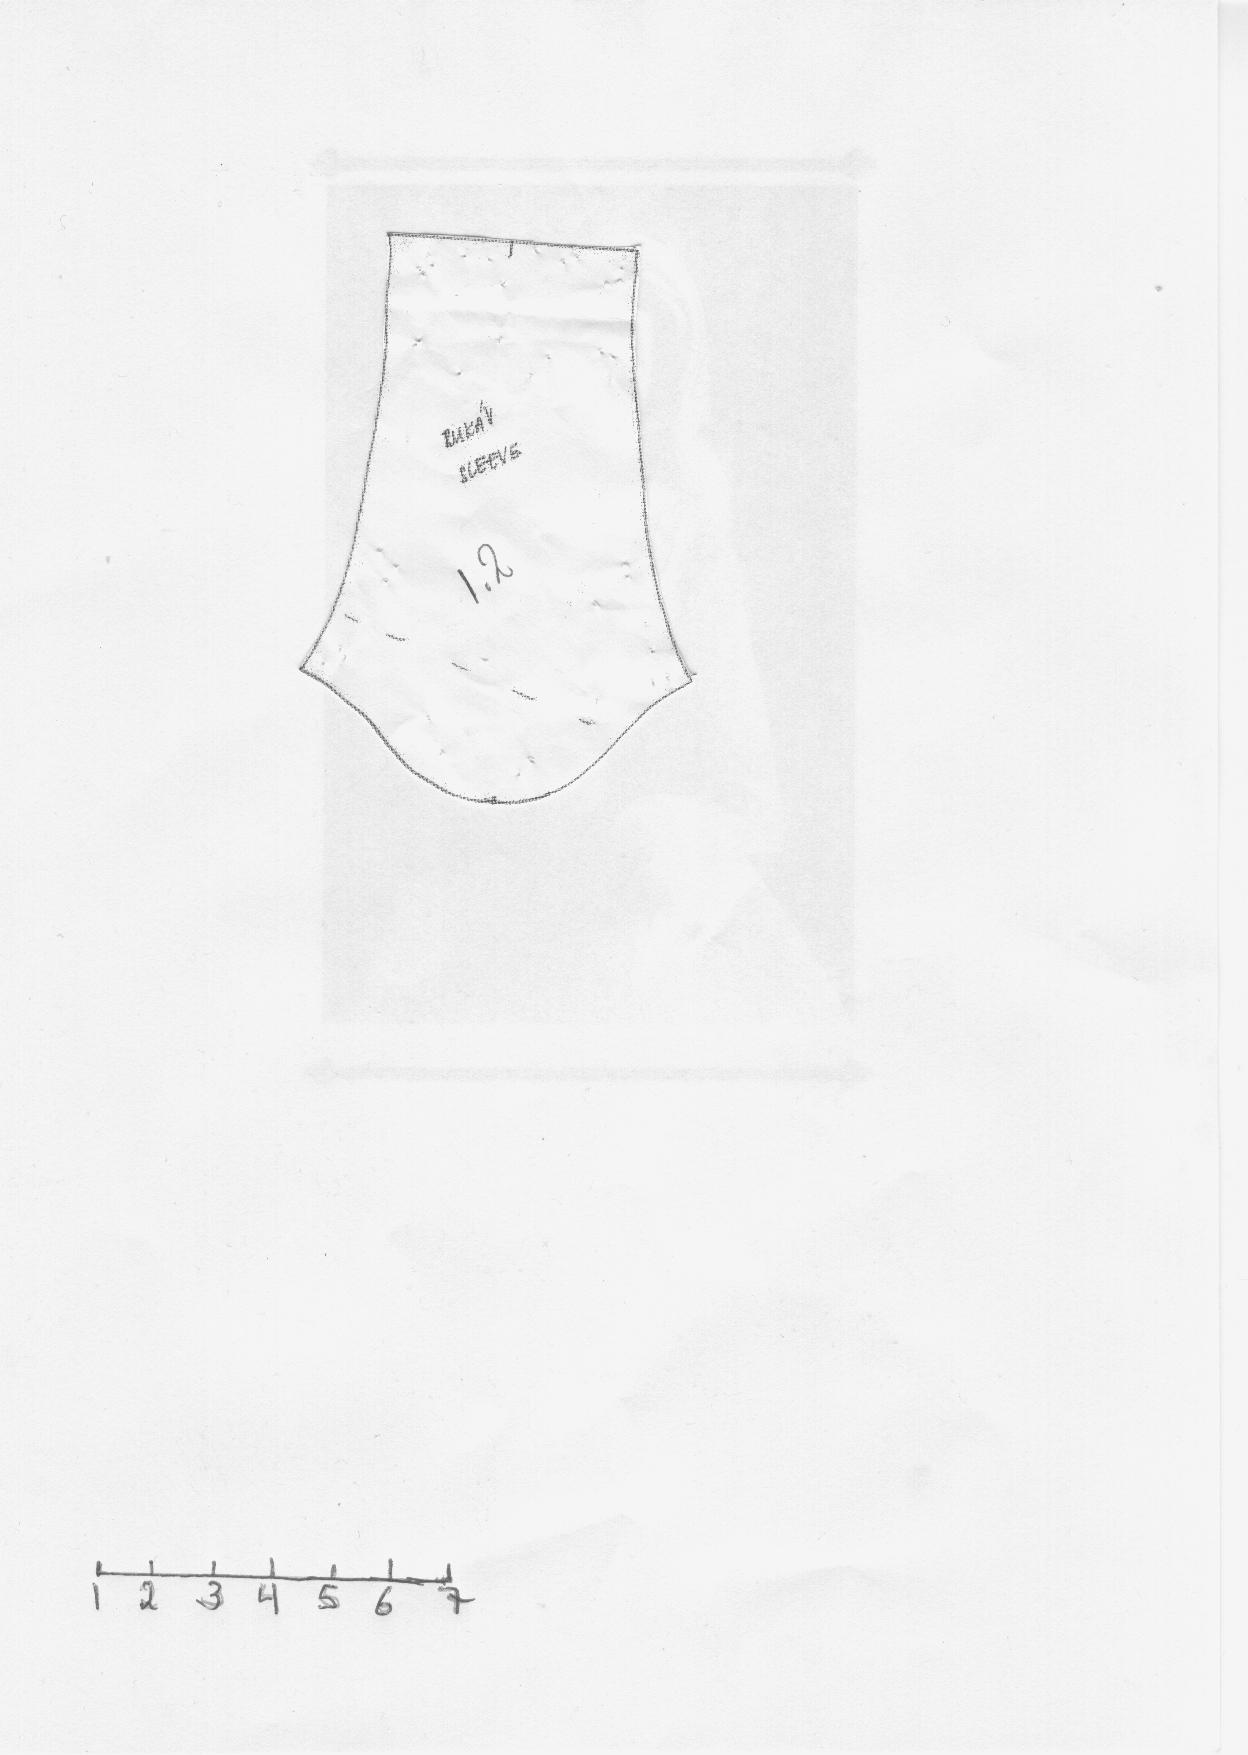
Overdress sleeve's
1. You should fold the fabrick and pin the sleeve pattern down (as on the undergarment)
2. Cut it. I choose to sew the top if the sleeve togerther (it makes it easyer so sew on to the arm)
3. Pull the sleeve over the arm (now comes a really bad foto; Il get a new one)
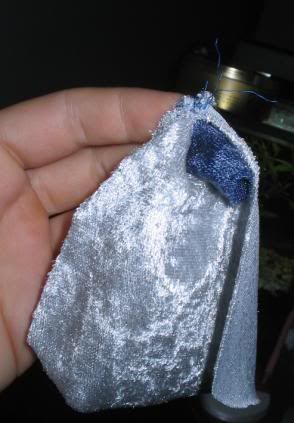
4. Sew it to the sleeve. Trubble? I got a trick: Take the klover thie/leg of a female obitsu and stuff in the arm when
ya are sewing the sleeve.
5. You can sew the bottom if ya like (for more decorative and 'loose' fabrics)
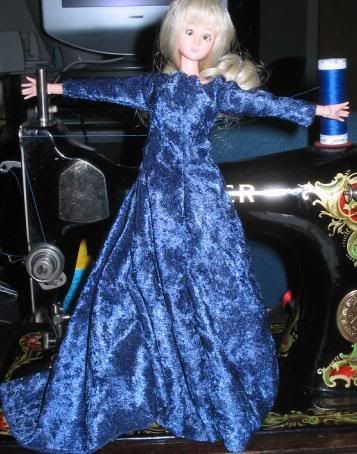
Don't just stand there....help me
I choose to give the dress a lovley belt (perhaps Il show how when I upgrade the tutorial)
PATTERNS
